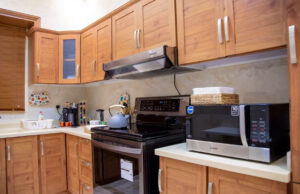
Nothing ever seems to be enough when it comes to kitchen storage cabinets. Nevertheless, if your kitchen is small, floor-to-ceiling cabinets promise to add more storage space.
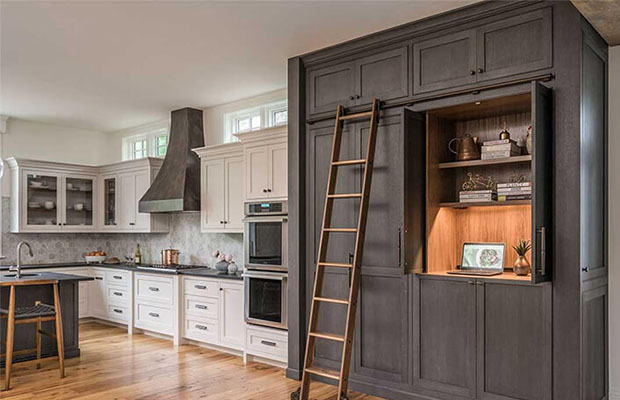
Amazing possibilities for your kitchen can arise from having floor-to-ceiling cabinets. They enable you to convert a galley kitchen into an open floor plan. But how to build a floor-to-ceiling kitchen cabinet?
You must construct your cabinets to fit the space you have available because this obviously falls under the category of custom cabinetry.
Here are a few things to think about if you decide to choose floor-to-ceiling cabinets for your new kitchen.
Table of Contents
Steps To Build A Floor-to-ceiling Kitchen Cabinet
1. Measurements
Use a measuring tape to determine the depth, width, and height of the space you have available after choosing the location in the kitchen where the cabinet will be built. Remember to cut any baseboard or wall trim with a reciprocating saw before removing it from the wall with a pry bar when determining the depth.
2. Primary Woodwork
Take exact measurements of the width and depth of the two-and-a-half-inch plywood using a table saw. They’ll serve as the cabinet’s top and bottom.
After that, use two more pieces of ¾-inch plywood to cut out the side panels by subtracting 1 ½ inches from the depth and height measurements.
3. Setting Up The Base And The Top Of The Cabinet
Find the studs on the floor where you want the cabinet by using a stud finder. Use a nail gun to screw the base into the studs.
The top of the cabinet can then be attached by finding the corresponding studs on the ceiling using the stud finder and repeating the previous steps.
4. Attaching Side Panels
To ensure that the side panels are flush with the wall, slide them into position. After that, fasten them to the wall studs by inserting nails every six inches along each wall stud with a nail gun.
5. Shelving
Calculate how many shelves you need for the cabinet based on its height. Use a pencil to mark out the shelves inside the cabinet once you’ve determined how many and at what height you want them.
After that, use ¾-inch plywood to cut out the shelves. The cabinet’s width and depth, less than a fraction of an inch, should be your measurements.
You must use a technique known as toe nailing to secure the shelves in place. Make sure you have assistance because this requires two people.
One person holds the shelf in place while the other uses a nail gun to drive downward-angled nails into the wall studs and into the sides of the frames.
6. Face Frames, Doors, And Hinges
This is the time to glue any face frames to the cabinet that need to be attached. Once the cabinet doors are cut, start working on them.
Cut a ¾ inch of plywood to fit the cabinet’s length and width if you want a single door that opens only to the left. If you want two doors that open from either side, cut two ¾ inches of plywood that are half as wide and as long as the cabinet.
Each door should have two hinges fastened—one near the top and the other near the bottom. Be sure to mark the hinges and place them on both doors at the same level.
Then, so that you know exactly where to screw the hinges on, mark their locations on the cabinet’s side panels.
Attach the door knobs or handles at the center of the door face, one inch from the center edge, after the doors have been screwed onto the side panels. Make sure the doors are functioning properly by opening and closing them.
7. Final Finishing
Painting it will complete your new piece of furniture. Interior grade latex primer should first be applied, and it should be left alone to dry completely before continuing.
Important Things To Know
- Many contemporary homeowners prefer built-in storage options because they save money by avoiding the need to buy additional furniture.
- Homeowners can easily stay organized and reduce clutter by building this kind of built-in without having to pay for pricey custom cabinetry.
- Utilizing the depth measurement and the height measurement of less than 1/2 inches, cut two additional pieces of 3/4-inch plywood to act as the sides of your storage cabinet.
- After locating the floor studs with a stud finder, fasten the board in place by inserting nails from a nail gun through the top of the board into the floor studs.
- Depending on the height of the cabinet, you might need to make a few small adjustments to ensure that all of the shelves are the same height.
- Toe-nailing is what this procedure is known as.
- Install the hinges on the back of the second door on the right side, mirroring the position of the hinges on the first door
Read More: How To Choose A Kitchen Sink?